1. Introduction
Java is a programming language that is currently owned by Oracle, it was first designed and developed by Sun Microsystems in 1995. Even today, Java is the preferred language for developing web, enterprise, and highly scalable applications.
Oracle gives us two types of JDK’s:
- Oracle JDK (Oracle JDK is a paid/commercial product)
- OpenJDK (OpenJDK is free for everyone to use because it’s open source)
In this tutorial, we’ll talk about how to install Java on macOS. We’ll use Oracle JDK with a DMG package and OpenJDK with a package manager called Homebrew for our examples.
2. Install Manually via DMG Package
The first method is to install Java using a DMG package (a Disk Image File). The process installing Java via a DMG package involves a few manual steps.
2.1. Download the DMG Package
Let’s navigate to Oracle’s official website and grab the .dmg package. First select the Java JDK version that we want to install in our machine, in this tutorial we are going to install java 17.
Don’t worry if the default tab shows Linux after selecting the Java JDK version; just switch to the macOS tab and choose the right DMG installer for our Mac.
There are options for both the latest ARM chips (like M1 and M2) and older x64 Macs with Intel chips. For this tutorial, we’ll focus on the x64 installer.
2.2. Launch and Install Oracle JDK
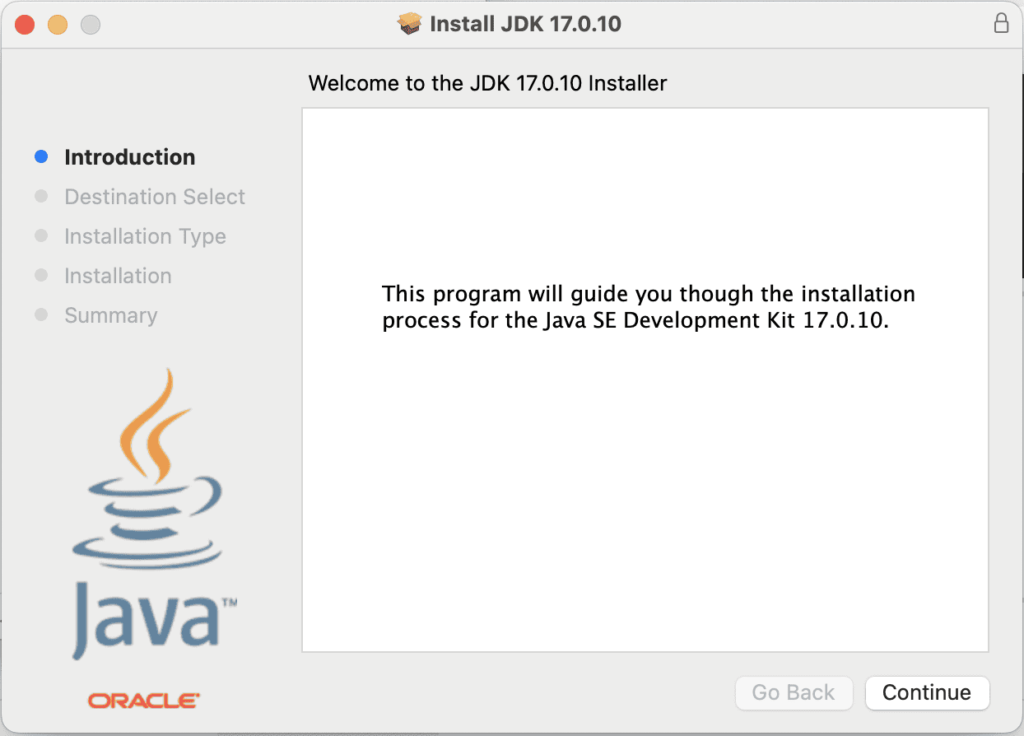
Once the DMG file is downloaded, double-click it to launch the installer. A window will pop up with Introduction tab selected by default.
Click Continue to proceed:
Follow the on-screen instructions and click Continue on the destination select screen:

Now, click Install to start the installation process:
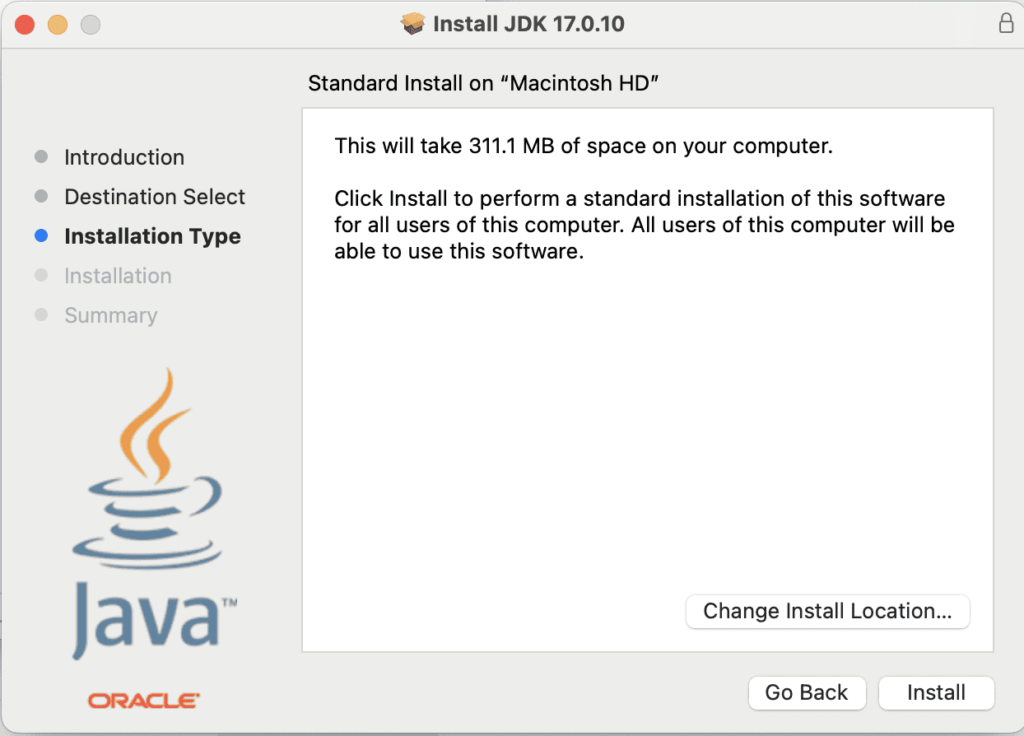
This may take a few minutes, so sit tight while it does its thing:

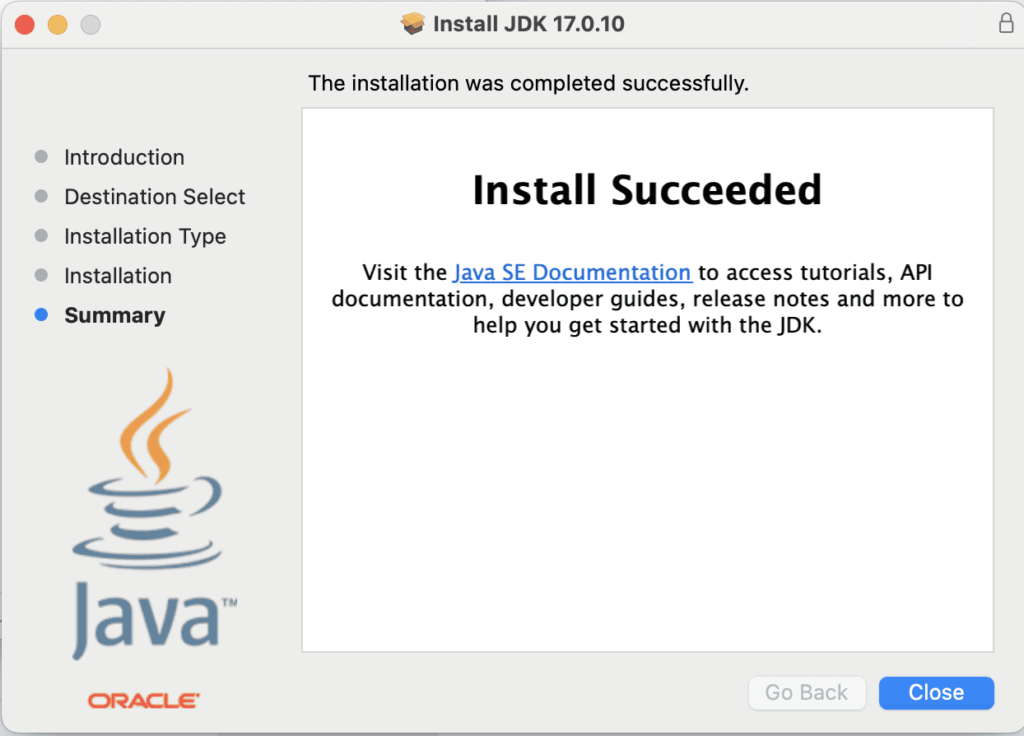
After the installation completes, we’ll see a Summary tab.
Click Close to complete the installation:
After the successful installation of Java on our MacOS vis DMG package, Open up the terminal and type java -version. We should see something like:
java version "17.0.10" 2024-01-16 LTS
Java(TM) SE Runtime Environment (build 17.0.10+11-LTS-240)
Java HotSpot(TM) 64-Bit Server VM (build 17.0.10+11-LTS-240, mixed mode, sharing)
Let’s verify the installation path. By default, Java installs to <strong><em>/Library/Java/JavaVirtualMachines/jdk<version>.jdk/Contents/Home/</em></strong>, where <version> is the JDK version that we have installed.
It is also possible to see a list of installed JDK versions along with their paths, run /usr/libexec/java_home -V:
% /usr/libexec/java_home -V
Matching Java Virtual Machines (2):
    17.0.10 (x86_64) "Oracle Corporation" - "Java SE 17.0.10" /Library/Java/JavaVirtualMachines/jdk-17.jdk/Contents/Home
    11.0.12 (x86_64) "Oracle Corporation" - "Java SE 11.0.12" /Library/Java/JavaVirtualMachines/jdk-11.0.12.jdk/Contents/Home
3. Install Java on Mac using Homebrew
Installing Java via the command line is another option, and for this, we can turn to Homebrew, a widely used package manager for macOS.
Here’s how to get started with installing OpenJDK using Homebrew. Before we start, let’s ensure Homebrew is installed and up-to-date:
% brew updateLet’s search the Homebrew formulae for OpenJDK:
% brew search openjdk
==> Formulae
openjdk ✔ openjdk@11 openjdk@17 ✔ openjdk@8 openj9 openjph openvdb

==> Casks
adoptopenjdk
We can look into the details of these formulae for OpenJDK, whether the latest version or a specific one like openjdk@17:
% brew info openjdk or
% brew info openjdk@17Next, we can install the latest Java JDK version or a specific LTS version. Let’s install OpenJDK 17 by running the following command:
% brew install openjdk@17OpenJDK gets installed in /usr/local/opt but isn’t linked into locations like /usr/local/bin or /Library/Java/JavaVirtualMachines/. So, we need to manually create a symbolic link:
% sudo ln -sfn /usr/local/opt/openjdk@17/libexec/openjdk.jdk /Library/Java/JavaVirtualMachines/openjdk-17.jdkFinally, let’s check the installed Java version:
% java -version4. Conclusion
In this tutorial, we’ve explored different methods to install Java on our macOS machine. We have the option to choose between installation via DMG package or package managers like Homebrew.